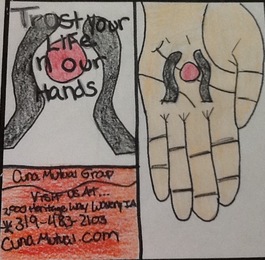
Down below is a slide show of my print making process. My print design is my logo, with some parts taken off to make it more simple. I confronted many obstacles through the process. Everything was going very well until I went to actually print. My very first print to test it turned out really well. Then I went to do my second print, and it didn't turn out at all as i wanted it to. So, I thought about it and went back to carve deeper. I did a few more prints and I didn't like any of them. I then talked with Mrs. Meyer and found out that purple printing ink is different from others. It was more tacky and thick then the others. I put water in it to loosen it up and it worked! I got 3 good prints from the watered purple ink and 2 good prints from the normal ink. If I had another chance to do this, I would make something more simple design and find the perfect ink that I like. I would also cut deeper to start with. One thing that made a big difference to everything is warming up the block before you cut. It makes it so much easier to cut because it gives you a smooth surface.
|
KatieArchives
May 2015
Categories |
 RSS Feed
